Here we look at the process of installing a Wood Burning Stove from start to finish, using a flexible steel liner. This installation was done in parternship with ‘Period Living’ in Colchester, Essex.
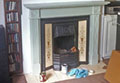 |
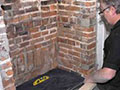
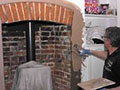
The customer decided to remove the existing fire surround and Victorian style cast iron inset fireplace in order to expose the original chimney opening. |
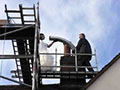 |
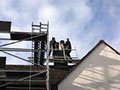
The first step for us was to insert a flexible liner into the chimney. This required scaffolding to be erected, due to the positon of the chimney and restricted access around the property. |
 |
Once the liner had been fed through the chimney to the fireplace, a ceramic pot was added to the roof along with a cowl. |
 |
The flexible liner was trimmed to the correct length once it had been fed down the chimney. |
 |
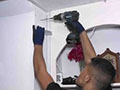
Brackets for the register plate were fixed to the side of the chimney breast, ensuring they were higher than the brick arch and out of site. |
 |
The register plate was cut to a custom size, allowing the flexible liner and flue collar to be held in place. |
 |
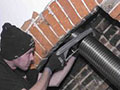
The register plate was installed at the base of the opening, while the flexible liner was attached to the flue collar. |
 |
A ventilation valve was also fitted in the register plate to allow the chimney to breath. |
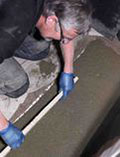 |
We laid a strong supporting cement base in preparation for the slate hearth. This allowed the floor to be levelled before the hearth was added, plus it also ensured the stove would be sat on a non-combustible material. |
 |
The slate hearth was laid and securely fixed onto the base, ensuring it was level. |
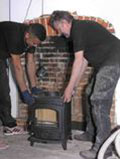 |
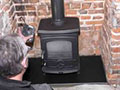
The AGA Little Wenlock was manoeuvred into the fireplace, and the flue pipe was lined up with the collar in the register plate. On this installation, it was requested that the flue pipe came out from the top of the woodburner, although there is a rear flueing option if required. |
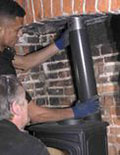 |
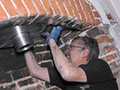
The stove was attached to the black enamelled flue, which in turn connected to the flue liner held in the register plate. |
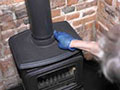 |
The joint between the Little Wenlock stove and the enamel flue was sealed to ensure no flue gases/fumes escaped into the room. |
 |
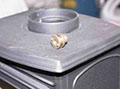
Once the stove and flue had been sealed, a smoke test was carried out using a smoke pellet. This checked the draw of the liner and ensured there was no smoke leakage into any room, as well as the loft space. |
 |
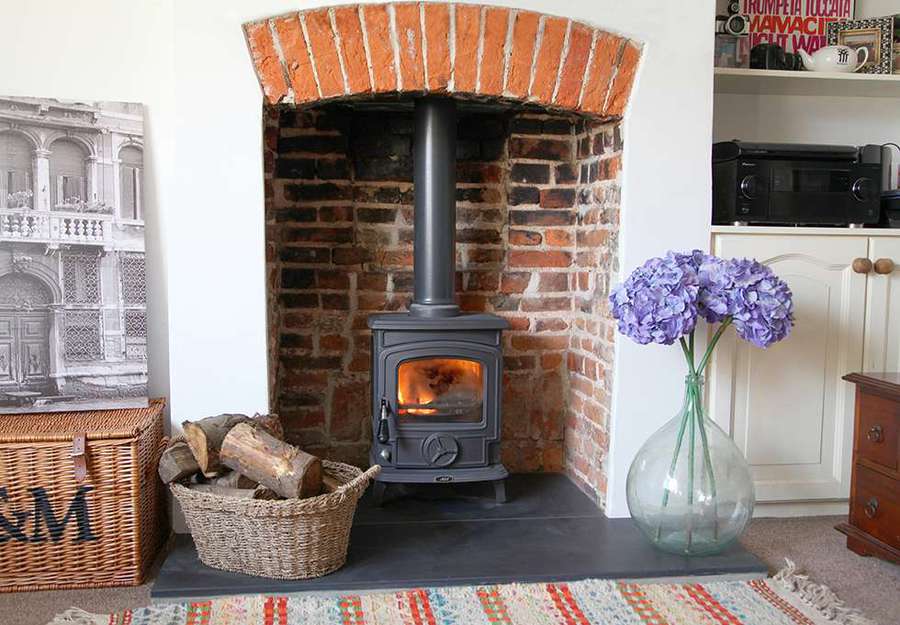
The walls surrounding the fireplace were repaired and plastered to provide a smooth and clean finish, in keeping with the property’s character. |
 |
To comply with the Building Regulations, a carbon monoxide monitor was fitted at the required height and location in the room. |
 |
The AGA Little Wenlock stove was lit and tested, ensuring the stove reached operating temperature. Once this was completed, the installation was signed off by Village Fires as HETAS approved installers, and certified accordingly. |